
The End of Summer RV Checklist: Full Post Season Care


The late August breeze brings a distinct shift. The sun sets earlier, the air turns crisp, and your summer road trips fade into memory. Before parking your home on wheels for the season, it needs thorough preventative maintenance. Leaving an RV sitting without proper care invites mold, pests, and expensive structural damage.
Preparing your RV for winter hibernation—often called winterization—preserves your investment. Follow this streamlined end-of-summer RV checklist to ensure your rig is protected and ready to roll next spring.
Clear Out the Artifacts of Summer
Purging your RV’s interior is the first line of defense against pests and odors. Open every cabinet, drawer, and storage bay to remove items that cannot survive freezing temperatures.
Remove all food: Toss every crumb and bring inside all boxed and canned goods. It is dangerous to leave food stored in the off season because canned goods can freeze and burst, while boxed foods invite mice. Clean shelves thoroughly.
Pull out textiles: bring bedding, pillows, towels, and clothing indoors. Leaving fabric in an unheated RV creates a breeding ground for mold and musty odors.
Prop cushions and doors: Flip dinette and sofa cushions on their sides to let air circulate. Leave the refrigerator and pantry doors propped wide open.
Check for liquids: Remove sunscreens, bug sprays, toiletries, and cleaning chemicals. Freezing liquids expand and crack their plastic bottles, creating messy leaks.
Deep Clean the Interior
A thorough deep clean removes the organic matter that attracts pests and feeds mold spores over the winter months.
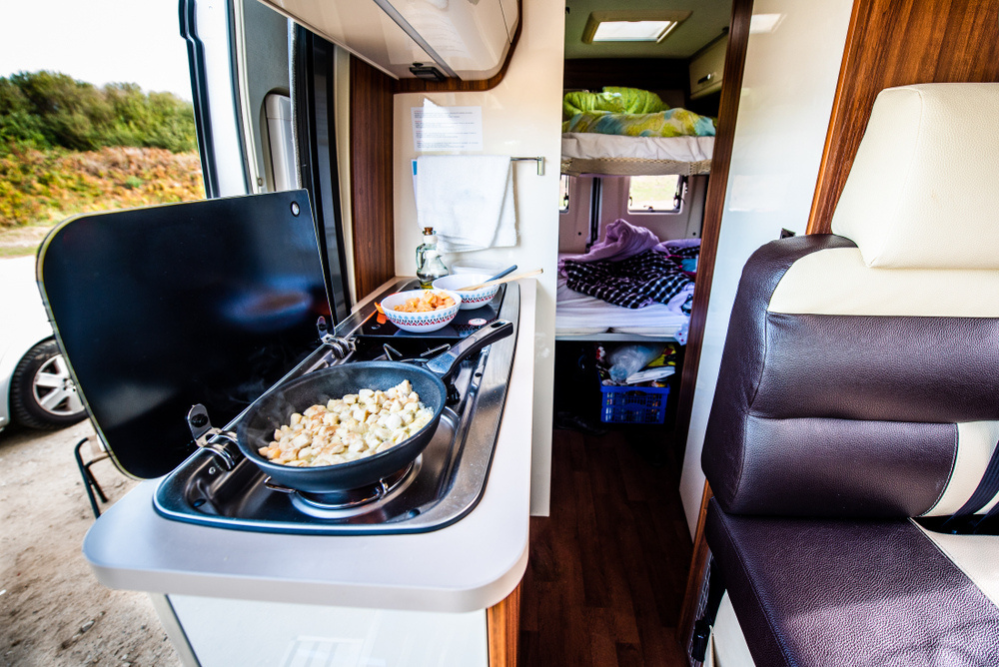
Scrub the stovetop, wipe out the microwave, and completely defrost the freezer. Place an open box of baking soda inside the fridge to absorb odors.
Clean the shower, sink, and toilet. Pour a splash of RV toilet seal conditioner or olive oil into the bowl to keep the rubber seal from drying out.
Vacuum and mop every square inch of the floor. Pay close attention to corners, under the dinette table, and around the baseboards where crumbs hide.
Evict the Water From the Plumbing
Water expands when it freezes. If water is left inside your plumbing system, it will split pipes, destroy faucets, and shatter your water heater tank. Take these steps to prevent damage:
- Drain the water heater: Turn off the water heater and let it cool completely. Open the pressure relief valve and remove the exterior drain plug to empty the tank.
- Open low-point drains: Locate these valves underneath your rig. Open them alongside all interior faucets to allow gravity to pull water out of the lines.
- Empty the holding tanks: Flush and empty your fresh water, grey water, and black water tanks completely at a proper dump station.
- Add RV antifreeze: Bypass your water heater using its bypass valves. Pump non-toxic, pink RV antifreeze through the system using your 12V water pump until it runs pure pink out of every faucet, showerhead, and toilet. Pour one cup of antifreeze down each sink and shower drain to protect the P-traps.
Seal the Perimeter Against Pests
Mice and winter insects can squeeze through holes the size of a dime. Once inside, they chew insulation, ruin upholstery, and destroy electrical wiring.
Fill underside gaps. Crawl under the chassis with a flashlight. Pack gaps around plumbing lines and wiring harnesses with stainless steel mesh, then seal with expanding foam.
Inspect interior cabinets: Check the back of lower cabinets and under sinks where pipes enter the living space. Block any openings you find.
Deploy natural deterrents. Avoid toxic mothballs or ineffective dryer sheets. Instead, place cotton balls soaked in pure peppermint oil in corners, cabinets, and storage bays to repel rodents.
Inspect and Protect the Exterior
The exterior shell must remain completely watertight to prevent rain, melting snow, and ice from seeping into structural walls.
Examine the roof sealant. Safely climb to the roof and check the caulk around vents, skylights, AC units, and seam caps. Look for spiderweb cracks or peeling edges. Clean and patch these areas with self-leveling lap sealant.
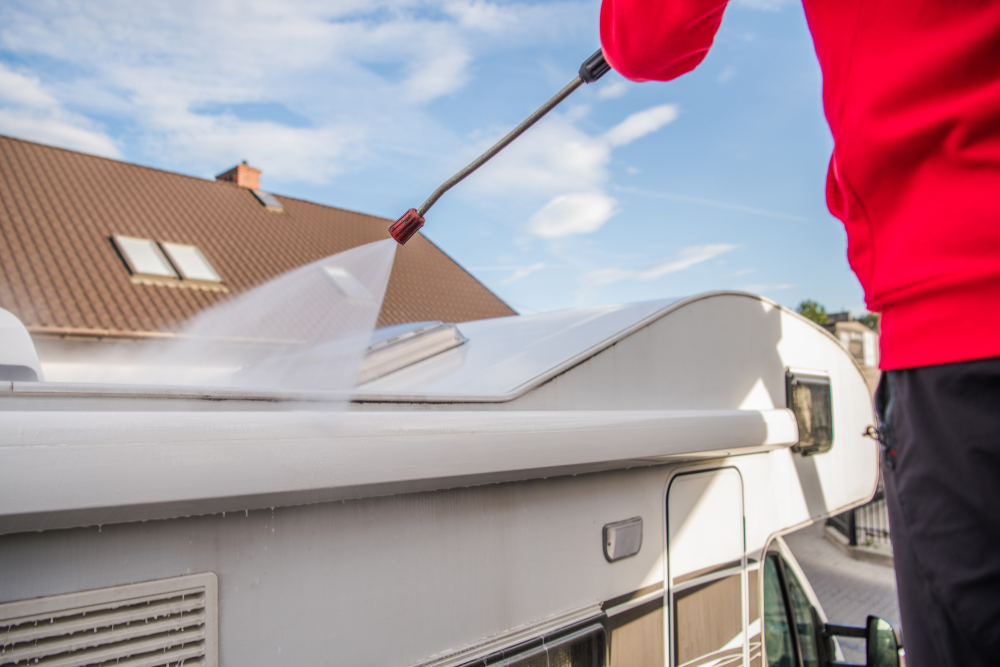
Wash the body. Scrub away road grime, bugs, and black streaks. Apply a coat of quality RV wax to create a protective barrier against harsh winter weather.
Condition mechanical seals by cleaning your slide-out tracks and apply a dry-film lubricant. Spray the rubber slide seals with a foam conditioner to prevent them from drying or tearing.
Care for Tires and Batteries
Stationary storage damages tires and drains electrical systems, leading to flat spots and dead batteries by spring.
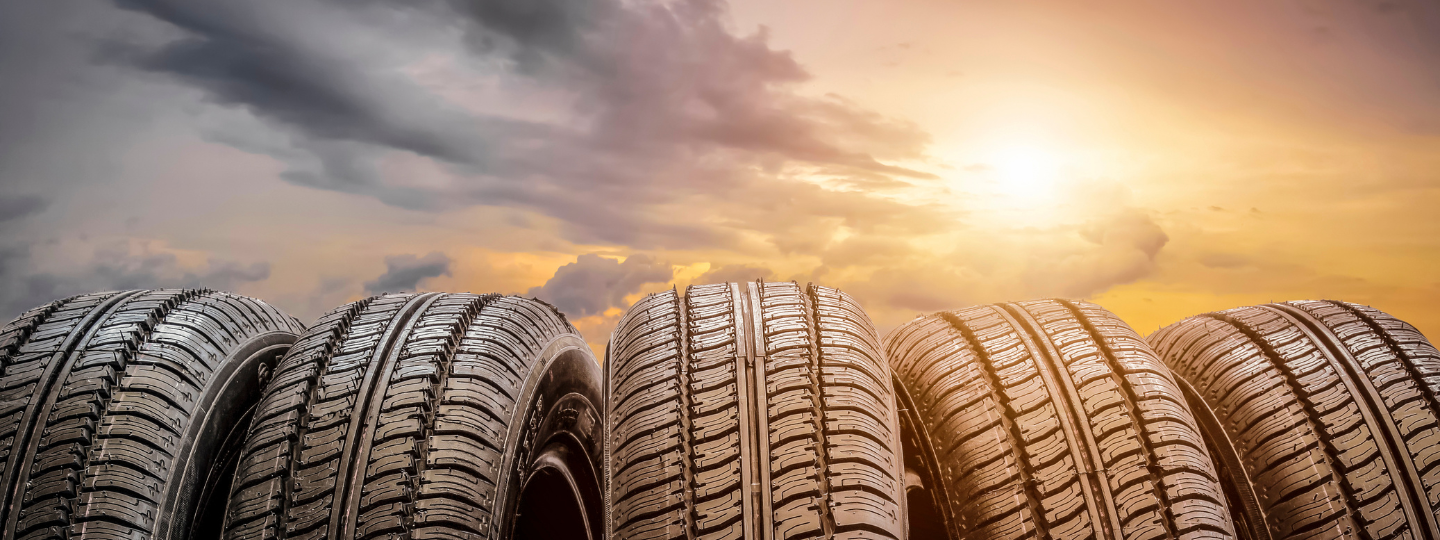
Inflate and cover tires. Inflate tires to the maximum recommended PSI listed on the sidewall. Park the rig on wooden blocks or rubber mats rather than bare ground, and install UV-blocking tire covers.
Disconnect the batteries. Turn off the main breaker. Disconnect the negative battery cables to stop parasitic drains from safety sensors. If storing in hard-freezing climates, remove the batteries entirely and keep them on a trickle charger in a temperature-controlled garage.
Proper post-season care protects your investment. By clearing food, deep cleaning, draining water, sealing gaps, and disconnecting batteries, you prevent costly winter damage and ensure stress-free spring traveling.
Frequently Asked Questions about RV Checklists:
What are the Most Common RV Problems After Summer Travel?
Summer road trips put immense stress on your rig due to extreme heat, rough highways, and heavy appliance use. The most frequent post-summer issue is air conditioner failure, caused by running the unit continuously in high temperatures without cleaning the filters or coils.
Tire blowouts and dry rot are also incredibly common. Blazing asphalt, heavy loads, and UV exposure accelerate rubber degradation and cause dangerous pressure spikes.
Inside the cabin, plumbing leaks often develop at loose pipe joints from the constant vibration of driving over potholes. You may also notice your slide-outs binding or squeaking because dust, sand, and dirt from campgrounds have infiltrated the mechanical tracks and stripped away the lubrication.
Finally, the continuous demand on your 12V battery system—from running fans, water pumps, and lights off-grid—frequently leaves batteries deeply discharged or damaged, especially if fluid levels in flooded lead-acid batteries evaporated in the summer heat. Catching these issues early prevents them from snowballing into permanent damage during winter storage.
How do I inspect my RV roof for summer damage?
Summer sun is the ultimate enemy of your RV’s roof. To inspect it properly, safely climb a sturdy ladder with a flashlight, a soft-bristled brush, and a camera. First, sweep away all debris like pine needles, leaves, and twigs, which can trap moisture and hide structural issues.
Examine the lap sealant around every single roof penetration. This includes skylights, plumbing vents, the AC shroud, and the front and rear caps. Look closely for tiny spiderweb cracks, gaps where the sealant has lifted from the roof material, or areas where it looks dry and brittle. Sun exposure causes this caulk to shrink and crack, creating prime spots for water leaks.
Next, inspect the roof membrane itself. If you have a rubber roof (EPDM or TPO), look for tears from low-hanging tree branches, bubbling, or thinning areas. For fiberglass roofs, check for cracks or oxidation. Press down on areas near the edges and vents; if the roof feels soft or spongy, water has already penetrated the decking underneath. Document any damage immediately so you can clean and re-seal the problem spots before winter weather arrives.
What maintenance does an RV need before winterization?
Before you even think about pumping antifreeze into your lines, your RV requires a round of deep preventive maintenance. Start with the chassis and mechanical systems. Change the oil and filters on both your drivable RV engine and your onboard generator. Old engine oil contains acidic contaminants that can corrode internal engine components if left sitting for months.
Next, wash the exterior thoroughly to remove corrosive road grime, bugs, and bird droppings. Apply a high-quality RV wax or polymer sealant to protect the gel coat from freezing moisture and snow.
Inside the rig, service your slide-outs. Clean the mechanisms and apply a dry-film lubricant to the tracks so they do not rust or seize. Treat the rubber slide seals with a specialized foam conditioner to keep them pliable and prevent them from sticking to the RV body during freezing weather.
Finally, check your propane system. Inspect the hoses for cracks and run the furnace briefly to ensure it fires up properly. This ensures your heating system works next spring and prevents any undetected gas leaks from lingering while the rig is parked in storage.
Should I drain my RV water tanks before storing it?
Yes, you must absolutely drain your water tanks before storing your RV. Leaving water in your holding tanks over the winter is a recipe for disaster. If you store your rig in a freezing climate, expanding ice will easily crack your plastic tanks, rupture connected water lines, and destroy expensive components like your water pump and water heater. Even if you store your RV in a warm climate, stagnant water will quickly grow bacteria, toxic mold, and algae, leaving you with a foul, unsanitary mess to sanitize in the spring.
Start by taking your rig to a proper dump station. Empty your black tank (sewage) first, followed by your grey tank (sink and shower water) to flush the hose clean. Use a tank rinse wand or built-in flush system to remove remaining sludge and solids. Next, open your freshwater tank drain and let it empty completely. Finally, open your low-point drain valves and turn on all faucets to pull the remaining water out of the internal lines. Draining the system is the vital baseline step that protects your plumbing before you introduce winterizing antifreeze.
RV Tires: 9 Critical Things to Know Before Purchasing

12 RV Renovation Projects to Tackle Over the Winter
RV Tire Safety in Summer Heat: What Every RV Owner Should Know