
RV Storage to Road-Ready: Complete Prep Guide & Checklist


Spring is just around the corner, and for many RVers, that means it’s almost time to be road warriors again! Unless you were ‘snowbirding’ it up in Florida, it’s highly likely that your rig was sheltering in place this winter. While the process of getting your chariot road-ready once out of storage might seem extreme, following this step-by-step spring-cleaning, RV storage guide will have you chasing down mile markers in no time.
Do a Quick Walk Around
Doing a simple but detailed search on all sides of the RV is a good place to start. Before entering the rig or giving it a start, check the outside first.
Look for damage or cracks around the roof and all seals. Look for soft spots or water damage indicators as well as loose trim around exterior storage compartment doors. Also, sniff out any nests placed in vents or in various parts of the underneath.
Give the rig a light washing and after cleaning the roof, ensure seals are in proper working condition around the skylights, seams, and vents. Lastly, check the slide-outs for any cracked seals or built-up debris.
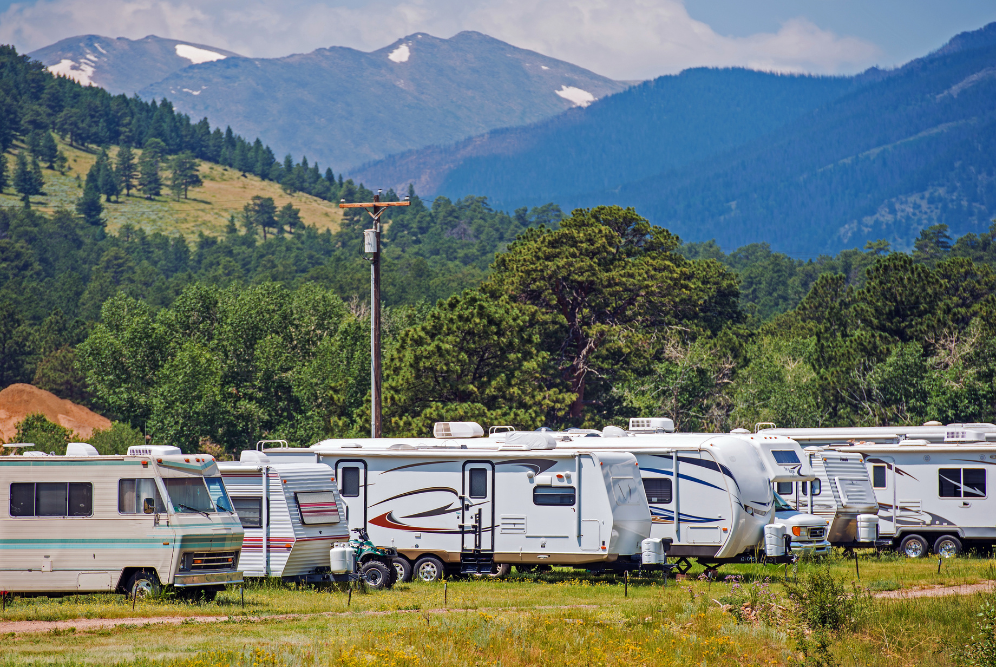
Suspension and Tire Check
Hopefully, during the long storage period, you remembered to rotate the tires to prevent ‘flat-spotting’ or uneven tread wear. Check each tire for correct tire pressure. Look for dry rot or sidewall cracks, tightness of lug nuts, and the depth of the treads. Also, don’t forget to inspect the brakes and the suspension components or the leaf springs.
Keep in mind that it’s recommended to replace tires when they become five to seven years old, regardless of how good they might still look.
Under the Hood
Always be sure to check the motorhome’s oil level, coolant, and transmission fluid levels. Make sure all hoses and belts are without tears or strains, and while the engine is idling, keep an ear out for unusual noises.
Appliances, Generator, and Electrical
Before heading out on your first journey, be sure to test out the air conditioning; Nothing says ‘uncomfortable trip’ like no cold air. Speaking of a/c, while it is running, go ahead and test the generator under load.
Then, move through the RV and check the microwave, the fridge (both propane and electric modes), the TV and entertainment system, all interior and exterior lights, as well as all outlets. Also, be sure the GFCI outlets will reset properly.
Battery System
While this step might not seem as important, the storage process can be hardest on batteries. Go ahead and reconnect those disconnected batteries. Take a few minutes to clean the terminals, check the charge levels, and test the voltages. Get replacement batteries for the ones that won’t hold a charge.
Plumbing System
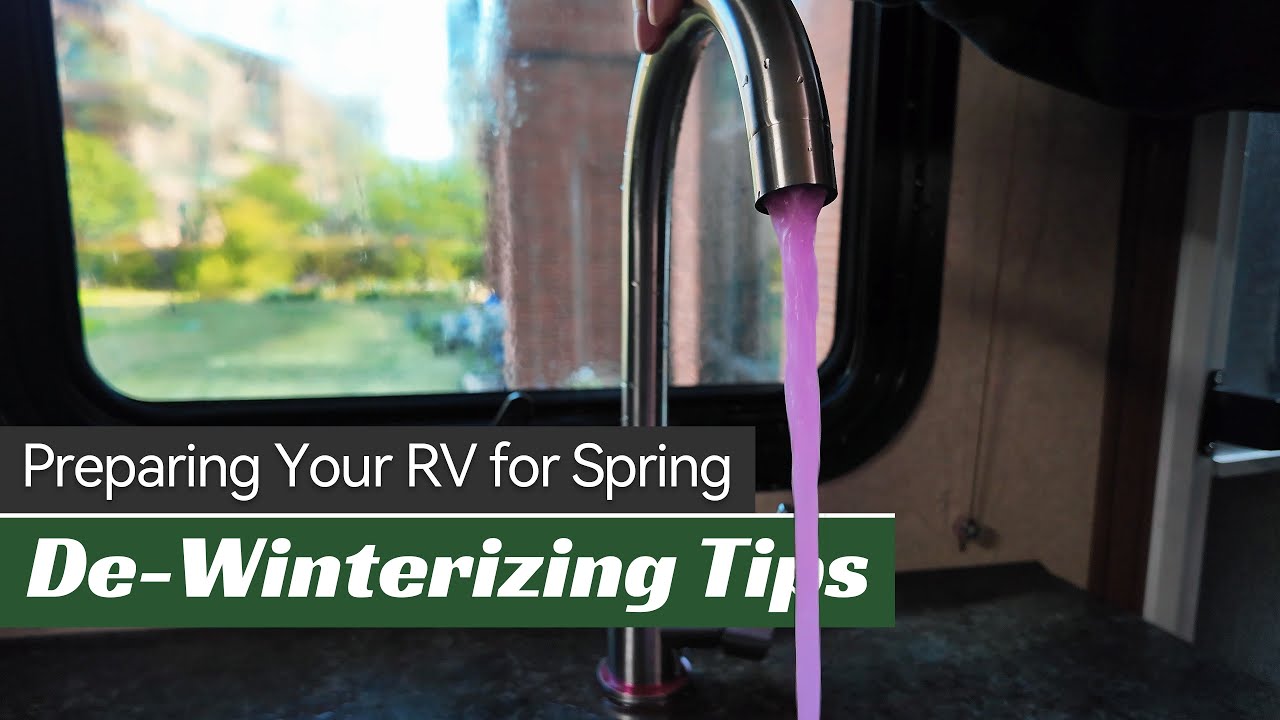
To de-winterize those winterized RVS, take these steps. First, reinstall the drain plugs and then close low-point drains. Go ahead and reinstall the water heater plug or the anode rod. Then, fill the fresh water tank back up and run water through all the faucets until the water is clear. While water is running, be sure to check for leaks. And finally, be sure to sanitize the system, to ensure optimum cleanliness after multiple months of being store.
Propane Setup
Be sure undo all that was done during the winterization process, only in reverse order.
Start by reconnecting the propane tanks and then slowly open all the valves. Check for leaks and, specifically, use soapy water when checking for leaks on the fittings.
Be sure to check stove burners before testing the furnace. Once those are in proper working order, go ahead and test out the water heater.
It might go without saying, but when the gas is turned back on for the first time since storage, and there is an odor of gas, shut everything back off immediately.
Refresh the Interior
Sufficient to say, the inside of the ol’ RV might be a bit….stuffy. So, to give the inside a facelift, start by airing out the living space. Let the fresh air in while ridding the rig of stale air. Clean the countertops and other surfaces and check for mold or moisture buildup.
Restock all the necessities to the kitchen and bathroom, replacing supplies removed from the end of last travel season. Make sure mattresses are in the same condition as before storing the RV and give the upholstery of chairs and couches a quick glance as well. Bring in new bedding and throw pillows and be sure to toss in some air fresheners.
Safety Equipment after RV Storage
This is likely one of the most important parts to ensure your RV is road-ready and family-friendly. Take a few minutes to check the smoke detectors, carbon monoxide detectors as well as the propane detector.
Be sure all the fire extinguishers are fully charged and placed in easy-to-reach locations. Also, add in a few new first aid kits or restock the current ones within the rig. Don’t forget basics such as headache relief tablets and ointment and band-aids for cuts and scrapes. Also, if traveling with the furbabies, they should have their own medicine kit. On that note, be sure to have a copy of their medical records from a vet.
Open Road Test Drive
So, this step is likely as much fun as it is work. Before heading out on that first roadtrip-looking at you, spring break! – take it around the block a few times. Take a short route, just a few miles, to ensure everything is in tip-top shape.
Test the brakes out to make sure they have proper stopping time. Do the same with the steering wheel; make sure it has the proper response and timing needed. Listen for any odd sounds or rattles and once your trial drive is over, check that tire pressure once more to ensure tires are inflated properly.
Turning this article into a step-by-step guide for spring will provide help, year after year. Keep it in the glove box for annual use.
Frequently Asked Questions:
What do I need to do to get my RV out of storage for spring?
Once bringing the RV out of storage, be sure to complete a full inspection on both the interior and exterior of the rig. Begin the de-winterization process, and then complete detailed safety checks before heading out to the first destination.
Do a full exterior walk-around looking for damage to the roof, seals, and slide-outs. Look for soft spots or water damage and check for rodent nests in the storage compartments or under the hood. And, shine it up by washing debris and dirt that might be visible.
Other steps include checking the tires and brakes, ensuring treads are still good, tire pressure is still at the proper level, and lugnuts are still tight. Reconnect, clean, charge, and check batteries. Check the propane system, ensuring no gas smell or leaks is at hand. De-winterize the plumbing system and sanitize the water system.
Lastly, test all appliances, systems, generators and the RV engine. Ensure all detectors are in proper working condition and are stocked with fully charged batteries. Take a short jaunt as a test drive to ensure it’s all come together.
How do I check my RV tires after they have been in storage?
Regardless of how well they look, keep in mind that tires age out before they wear out. It’s recommended to replace RV tires every five to seven years. So, check the DOT code on the sidewall and make sure your tires aren’t in need of being swapped out.
Next, closely examine the sidewalls, around the rims, and between tread blocks for deep cracks or visible cords. Replace any that are visibly damaged. Check tire pressure before driving, ensuring all tires and the spare are matching the numbers provided by the specs. Keep in mind that low tire pressure is common in stored RVs. Flat spots are common as well, so drive slowly for a few miles to discover any possible vibrations caused from time in storage.
Also, check wear patterns and tread depth, check the valve stems for cracks or brittle appearances, and be sure to replace any rubber stems that are more than two or three years old. Inspect the wheels and lug nuts, looking for cracks, rust, or bent rims. And, to ensure your RV isn’t overweight, utilize the scales at a nearby truck stop. An overloaded rig is at a higher risk of tire blowouts.
What is a good RV spring checklist to make sure it is road-ready?
Plan on spending up to six hours completing this checklist. Investing some time now will help prevent expensive repairs later. Consider printing out this list for future use.
RV Spring Prep Overview Chart:
| Category | What to Check | Why It Matters |
| Exterior | Roof seals, vents, skylights, slide-outs, awnings | Prevents costly water damage |
| Storage compartments for pests | Rodents can damage wiring and plumbing | |
| Exterior wash & inspection | Helps spot cracks and seal issues | |
| Tires & Suspension | Tire age (replace 5–7 years) | Prevents blowouts |
| Tire pressure (cold PSI) | Improves safety & fuel efficiency | |
| Cracks, dry rot, tread wear | Identifies failure risks | |
| Lug nut torque & brakes | Ensures safe travel | |
| Battery System | Clean terminals | Prevents poor connection |
| Charge & test voltage | Avoids dead battery issues | |
| Converter/charger function | Keeps house batteries working | |
| Plumbing (De-Winterizing) | Close drains & reinstall plugs | Restores water system |
| Run water through faucets | Flushes antifreeze | |
| Check for leaks | Prevents water damage | |
| Sanitize fresh tank | Ensures safe drinking water | |
| Propane System | Reconnect tanks & open slowly | Prevents pressure issues |
| Leak test (soapy water) | Detects dangerous leaks | |
| Test stove, furnace, water heater | Confirms appliances are safe | |
| Electrical & Appliances | A/C & refrigerator (both modes) | Ensures cooling systems work |
| Microwave & outlets | Confirms shore power function | |
| Generator test (if equipped) | Verifies backup power | |
| Motorhome (If Applicable) | Check engine fluids | Prevents mechanical failure |
| Inspect belts & hoses | Reduces breakdown risk | |
| Start engine & listen | Identifies early issues | |
| Safety Equipment | Smoke, CO & propane detectors | Protects occupants |
| Fire extinguisher charge | Emergency readiness | |
| First aid kit | Travel safety | |
| Final Step | Short test drive | Confirms road performance |
| Re-check tire pressure | Tires warm up & adjust |

RV Friendly National Parks to Explore This Summer

RV Maintenance Checkup: Ensuring Your Vehicle is Ready for Spring

Spring is Sprung! Hitting the Road in Your RV