
How to Keep Your RV Plumbing System Running Smoothly

One of the largest selling points of traveling in an RV is the ability to have a private bathroom at our disposal. Along with that luxury comes not-so-glamorous upkeep and maintenance. Properly maintaining all aspects of the RV plumbing system will ensure a healthy and easy-‘flowing’ water setup. If you are new to RV ownership or rentals, this might seem overwhelming. Rest assured, if you need a refresher guide or first-time step-by-step directions, this guide provides a few key steps to take in order to keep your RV plumbing system running smoothly.
Step-by-Step Guide for RV Plumbing Maintenance
In matters of preventive maintenance and repairs, understanding the ‘hows’, ‘wheres’, and ‘whys’ of the RV plumbing system is important information to build upon. Starting by learning how it all works is a good foundation to learn what isn’t working as well.
Understand Your System
While reading the owner’s manual might not sound like a fun afternoon event, learning the parts, purposes and layout of the RV’s plumbing is the primary step in educating yourself. Learn where the water pump, water tank, pipes, waste tanks, and faucets are located. This will help ensure you spot issues early on and will also assist in easier maintenance issues and repairs.
Regularly Inspect for Leaks
On a regular basis, you will want to check all visible pipes, connections, and fittings for signs of leaks or moisture. Key locations to garner attention to include the area around the water heater, under the bathroom and kitchen sink, and around the toilet. Early detection can prevent water damage and costly repairs. Take note if any fittings are loose, making sure to tighten to stop leaks before they begin, and check to make sure all are free of rust or corrosion.
Clean and Sanitize the Fresh Water System
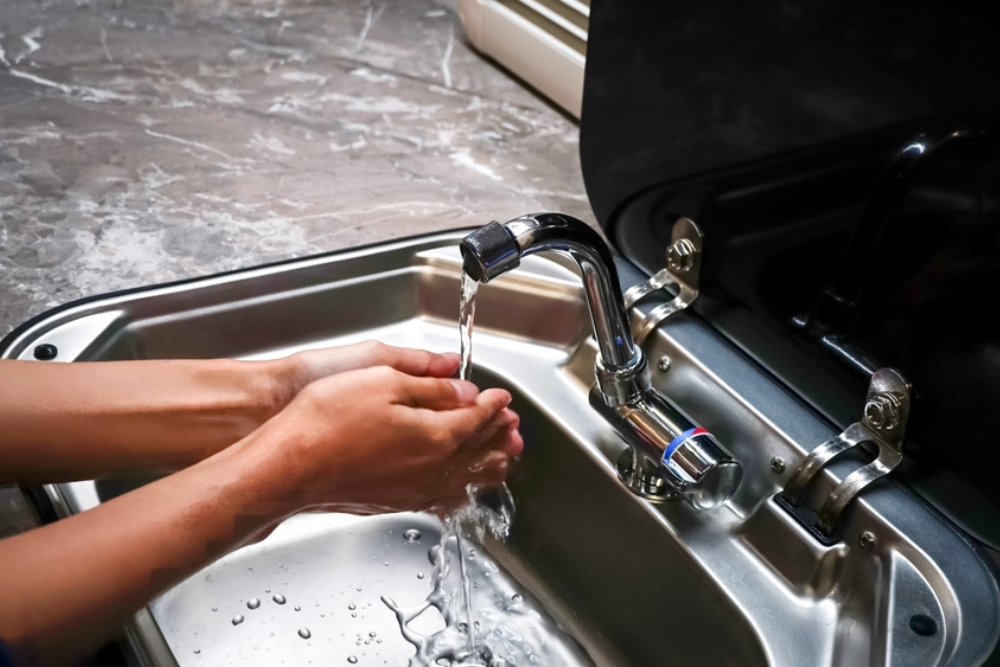
Periodically flush and sanitize your freshwater tank and lines, as this will help maintain high-quality water. Use an RV-safe sanitizer and follow the manufacturer’s instructions to ensure safe, clean water. Also, be sure to flush out the system on a yearly basis, if not more often, to prevent bad-tasting or foul-smelling water supplies.
Maintain the Water Pump
Listen for unusual noises from the water pump and check for leaks around the pump housing. Clean the pump filter as needed to maintain optimal water flow.
Monitor and Empty Waste Tanks
Keep an eye on your gray and black water tank levels. Empty them regularly at approved dump stations, and use appropriate chemicals to break down waste and control odors.
Use RV-Safe Products
Only use toilet paper and cleaning products labeled as safe for RV plumbing. This helps prevent clogs and protects sensitive components. If winterizing your RV, be sure to use non-toxic RV antifreeze.
Winterize When Needed
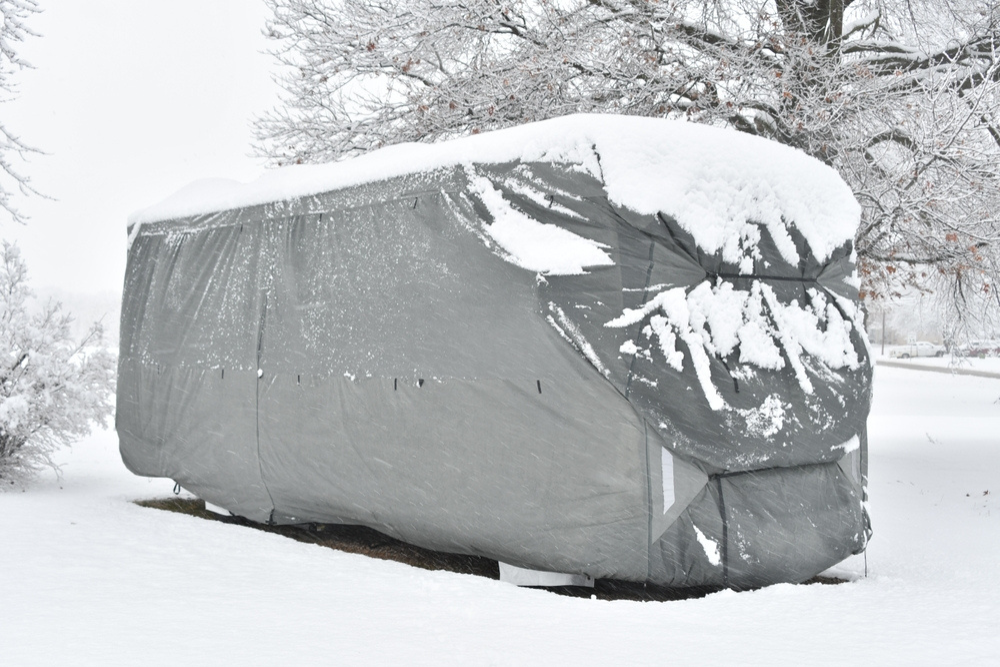
If you will be storing your RV in cold weather, follow a winterization process: drain all water, add RV antifreeze to the system, and protect exposed pipes from freezing. Winterizing an unused RV is a great way to stop RV plumbing issues before they start, saving potential damage to fittings, valves, water lines, and pipes.
Address Issues Promptly
If you notice slow drains, odd smells, or reduced water pressure, investigate and resolve the issue quickly to avoid bigger problems.
By providing regular maintenance and preventive care as outlined within this article, specifically by fixing small problems before they grow into larger ones, the plumbing system in your RV will be a smooth-running system
Frequently Asked Questions:
What are the most common RV plumbing issues and how do you fix them?
Leaks in Pipes and Fittings
Leaks are one of the most frequent problems in RV plumbing systems. They can occur at pipe joints, around fittings, or in hoses. Regularly inspecting for moisture or drips under sinks, around the water pump, and near tanks is essential for early detection and prevention of water damage. Ensuring fittings are tight and replacing corroded parts are easy steps to prevent further damage.
Clogs and Slow Drains
Clogs can develop in sinks, showers, or toilets, often due to improper products being flushed or buildup of debris. Using only RV-safe toilet paper and cleaning products helps prevent these issues. If you notice slow drainage, address it promptly to avoid more severe blockages.
Water Pump Problems
The water pump is crucial for maintaining water pressure. Common issues include unusual noises, leaks around the pump, or reduced water flow. Cleaning the pump filter and checking for leaks can help maintain optimal performance.
Waste Tank Complications
Gray and black water tanks can develop problems such as odors, clogs, or sensor malfunctions. Regularly emptying tanks at approved dump stations and using appropriate chemicals to break down waste and control odors is important.
Freezing and Burst Pipes
If your RV is exposed to cold temperatures without proper winterization, water in the pipes can freeze and cause pipes to burst. Draining the system and adding RV antifreeze before winter storage is critical.
Low Water Pressure
Low water pressure can result from clogged filters, leaks, or issues with the water pump. Regular maintenance and inspection help identify and resolve these problems quickly.
Staying proactive with inspections and using RV-safe products will help you avoid most plumbing troubles.
Should you leave your RV water pump on all the time?
It is highly recommended that you turn off the water pump when you’re not actively using water or when you leave the RV. This simple habit can prevent accidents and extend the life of your RV plumbing system.
There are a few reasons why it’s best not to leave the water pump on constantly. First, there will be a higher risk of leaks and/or flooding. If a water leak begins and the pump is on, it could continuously pump water into your RV, causing water damage.
Another reason is that this practice can shorten the life of the water pump. Leaving the pump on when not in use can cause unnecessary wear on the pump and related components.
Can hard water damage RV plumbing systems?
The short answer: yes. Yes, hard water can damage the plumbing system within an RV.
Hard water contains high levels of minerals, mainly calcium and magnesium. These minerals are picked up as water flows through mineral-rich areas and can be present in campground or city water supplies. Hard water can damage RV plumbing in a variety of ways, including:
Mineral Buildup (Limescale):\ Hard water leaves behind mineral deposits in pipes, hoses, water heaters, and fixtures. Over time, these deposits (called limescale) can clog water lines, reduce water pressure, and damage appliances like water heaters and coffee makers.
Reduced Appliance Efficiency:\ Mineral scaling on heating elements and inside tanks forces appliances to work harder, reducing their efficiency and lifespan. For example, your RV water heater may consume more energy and provide less hot water due to scaling.
Clogged Fixtures and Hoses:\ Calcium and magnesium deposits can block faucets, showerheads, and hoses, leading to low water pressure and uneven water flow. You may notice white or chalky residue around connections and fixtures.
Soap Scum and Cleaning Issues:\ Hard water reacts with soap to create sticky scum, making cleaning more difficult and leaving spots on dishes and surfaces.
Shortened Appliance Life:\ The buildup of minerals can wear out water heaters, pumps, and other plumbing components faster, resulting in costly repairs or replacements.
Signs of hard water damage include low water pressure, white or chalky residue on fixtures, stiff or brittle hoses, clogged faucets or showerheads, and/or hard water stains on dishes and sinks.
There are some preventive steps and solutions:
Use an Inline Water Filter: Traps minerals before they enter your plumbing.
Install a Portable Water Softener: Removes calcium and magnesium, preventing buildup.
Flush and Clean Regularly: Use vinegar solutions to dissolve deposits in hoses and fixtures.
Test Water Hardness: Use test strips before hooking up at campgrounds.

In-Season RV Maintenance Reminder
When Should You Winterize Your RV?
RV Air Conditioner Maintenance: Stay Cool on the Road