
10 RV Winterization Mistakes to Avoid
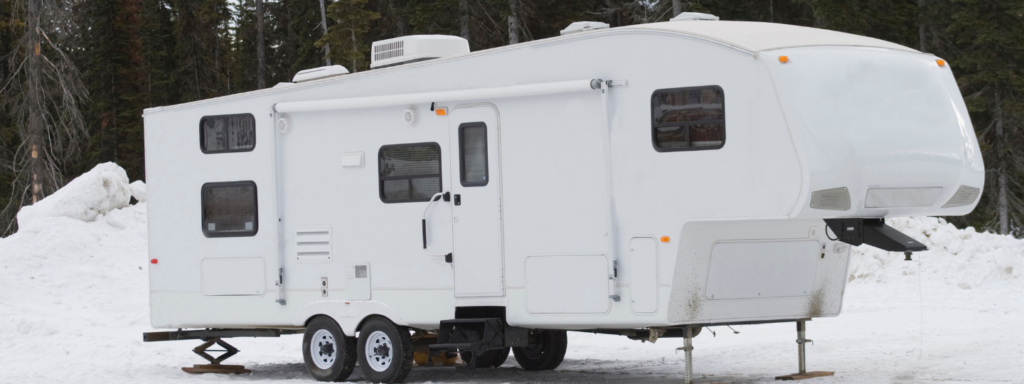

The cold weather is unfortunately here to stay for a bit, and there’s a good chance you’ve already winterized your motorhome or trailer for the season. However, if you haven’t winterized your rig just yet, you’re going to want to get out there and do that right away. Otherwise, you might at least want to review the RV winterization steps you went through to make sure you didn’t make any of the most common RV winterization mistakes.
That’s right, there are a number of RV winterization mistakes that RV owners just like you make every single year. Unfortunately, some of these mistakes can lead to some pretty bad RV damage, something no RV owner wants to deal with. The good news? You can avoid damages to your rig by ensuring you winterize your RV properly.
Of course, in order to avoid making RV winterization mistakes, you have to know what to watch out for. That’s why we’re here today. Read on to learn about the RV winterization mistakes you will want to avoid.
Mistake #1: Waiting Too Long
First on our list: waiting too long to winterize. Unfortunately, this happens more often than you might think. Some people don’t realize they are supposed to winterize until it’s too late. Others just get preoccupied and forget this super important task. Still other RV owners dread the task and put it off until the freezing weather is already rolling in, often waiting just a day too long.
Honestly, if you haven’t started the RV winterization prcocess yet, you’ve already made this mistake and might just be looking at fixing some damages pretty soon. That said, there is still a chance nothing has been damaged, so we highly recommend braving the cold, heading out to your home-on-wheels and winterizing your RV from front to back. This will ensure damages don’t occur if they haven’t already, and will help avoid further damages even if some things have frozen over already.
Mistake #2: Running Antifreeze through the Water Heater
When you winterize your RV with RV antifreeze, you have to run the antifreeze through the vast majority of your water system. That said, there are actually a couple of places you will want to make a point of skipping over. The first one? The RV water heater tank.
Most RVs come equipped with a built-in water heater bypass that allows you to disconnect the water heater tank from the rest of the RV system. If your RV doesn’t have this built in, you will need to install it yourself.
Either way, make sure to turn all the necessary valves to bypass the water heater tank while filling your system with antifreeze. This will reduce the amount of antifreeze needed by 5–10 gallons, and will ensure your water doesn’t end up tasting like RV antifreeze for months after you dewinterize.
Wondering how to keep your water heater tank from freezing if you can’t put antifreeze in there? The trick is to make sure you remove the plug from the tank itself (usually located behind a little access panel on the outside of your RV) so all the water can drain out.

Mistake #3: Adding Antifreeze to the Fresh Tank
There is one other place you don’t want to put RV antifreeze: the freshwater tank. Fortunately, this one is easier to remember because you don’t have to bypass the tank while winterizing the rest of the system. Instead, you simply skip pouring the stuff directly into the tank.
That said, you definitely want to make sure you open all drains on the RV to ensure the fresh water tank is drained completely in order to avoid freezing the contents of the tank. This is because frozen water in a plastic tank could lead to cracks, something that will definitely lead to issues when you go to use the tank later.
Mistake #4: Neglecting the Toilet
We’ve talked a bit about where you don’t want to pour RV antifreeze. Now let’s discuss where you do want to add it. When you put the antifreeze into your system, you will run all of the faucets until the water that runs out is pink. This shows that the antifreeze has made it through the water lines to that faucet.
This seems straightforward enough, and really it is. The thing is, many people accidentally skip the toilet during this process because they are only thinking about running faucets, making this one of the most common RV winterization mistakes. Obviously this is a problem, as it means no antifreeze is making it into the water lines leading to the toilet.
Don’t make this mistake. Remember to flush the toilet until the water runs pink while working on the other bathroom faucets.
Mistake #5: Skipping the Outdoor Shower
Like the toilet, the outdoor shower is often neglected during the RV winterization process. Because it’s often not used and it is outside and out of the way, we can see how it would be pretty easy to skip the outdoor shower without thinking twice. Unfortunately, this RV winterization mistake that is so, so easy to make can also be pretty darn costly.
An outdoor shower that doesn’t have antifreeze run to it will almost certainly freeze and will likely break once frozen. Not only that, but the water lines leading to the shower are also likely to freeze and crack. This is a major problem once the lines thaw in spring, as water will leak out of the cracked lines and into the RV wall. Water in an RV wall means water damage is inevitable, and water damage is one of the absolute worst things that can happen to an RV.
Luckily, this is easily avoidable. Just make sure to add the outdoor shower to your RV winterization checklist.

Mistake #6: Not Putting Antifreeze in the Waste Tanks
Yet another place you will want to make sure you put some RV antifreeze? The waste water tanks.
While these tanks aren’t likely to freeze if you empty them entirely, there is always the chance that a bit of water will be left in the bottom. This could potentially freeze, and although it isn’t probable, frozen waste water could cause issues down the line.
For this reason, we recommend pouring a few cups of antifreeze into both the gray and black tanks in order to ensure no freezing occurs in the waste tanks and that no problems arise with the tanks later on.
Mistake #7: Forgetting the Batteries
Believe it or not, the water system isn’t the only thing that needs attention during RV Winterization Another thing you’ll want to think about? The RV batteries. Yep! RV batteries are sensitive to the cold.
The thing is, RV batteries will discharge over time. You can increase the amount of time they hold a charge by disconnecting them from the rig, thereby removing any parasitic loads. However, they will eventually die no matter what you do. Not only is it bad for your batteries to be discharged completely, but dead batteries are able to freeze. As you might have guessed, a frozen battery is not a good thing. Therefore, you will want to do what you can to avoid this scenario.
The best way to go about this? Disconnect the batteries from the RV entirely. Take them indoors (or at least into your garage) to keep them warm and hook them up to a trickle charger in order to ensure they stay charged up and ready for your next big trip.
Mistake #8: Leaving a Stocked Rig before RV Winterization
You might be tempted to leave everything in your RV so it’s ready to go for next season. Unfortunately, this isn’t actually a good idea. You see, anything that is liquid can freeze, and in doing so, bottles and other containers will burst. This means absolutely anything liquid has to be removed from the rig.
Look around your RV for beverages, canned goods, cleaning supplies, and any other liquid items and remove them from the RV to avoid damages caused by burst containers. You’ll also want to remove other foods as well as anything that you can’t live without, just in case of a water leak or theft.
Mistake #9: Attracting Pests
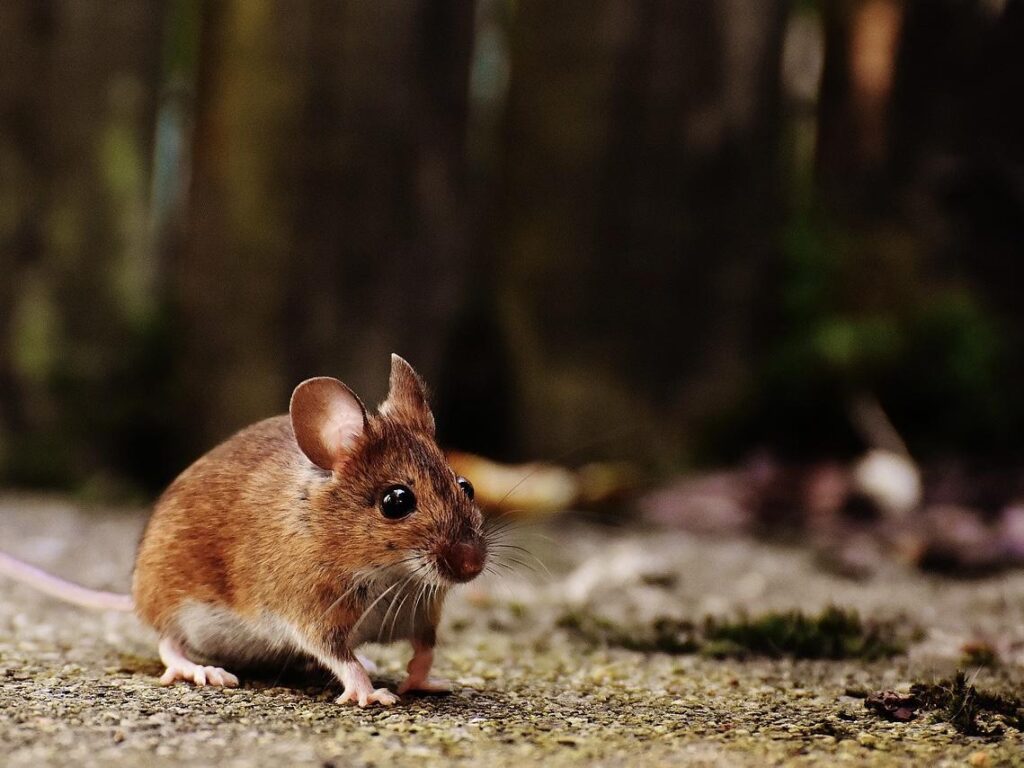
Speaking of removing food from the rig, another major mistake some people make when winterizing their rig is leaving food in the RV for pests. Anything in paper, thin plastic, or cardboard packaging is fair game for mice and other rodents. Meanwhile, ants and roaches will go after any crumbs or foods that are easy for them to get into. Since canned goods can freeze and burst, these can also attract pests.
To ensure your rig doesn’t become home to rodents and bugs, be sure to pull all the food from the RV and plug up any and all potential entry points. Keep in mind, mice can enter holes as small as a dime. It might also be a good idea to use a mouse repellent of some sort and check in on things once in a while to be sure pests aren’t getting into your trailer or motorhome.
Mistake #10: Inviting Leaks
Last but definitely not least, we need to talk about leaks. When water gets in where it isn’t supposed to be, it can cause some major RV issues. Getting your rig back out after the winter only to find a leak and water damage is never fun. For this reason, it’s important to look over your seals before putting your RV in storage. Reseal anything that looks questionable (or just go over all the seals again to be safe).
You might also want to consider finding a covered storage space, or if that isn’t possible, using an RV cover to keep water out of your rig in case you accidentally miss a failing seal.
There you have it, the most common RV winterization mistakes and how to ensure you don’t make them. Now get out there, double check your rig to make sure it’s safe and secure, and then rest easy knowing your RV will be ready to travel again whenever you are.


RV Maintenance: 101

Winterizing Your RV: All-in-One Checklist
8 Key Reasons to Check on your RV to Prevent Stressful Storage