
RV Air Conditioner Maintenance: Stay Cool on the Road

Not many things can put a larger dark cloud over a road trip as an RV air conditioner that isn’t cooling properly. Imagine the discomfort and annoyance your friends and family might be feeling during a trip because proper maintenance wasn’t completed prior to leaving. A situation like this can be avoided entirely by a few steps of preventive measures.
If you have noticed that the air conditioner is still providing cold air, but not as cold as it should be, now’s the time to take action in an effort to stop the problem from becoming a larger problem. To make sure a nightmare scenario like that doesn’t occur during your next outing, and to ensure your air conditioner maintains a continuous cold air stream, here are a few steps to take: Replace, Clean, Straighten, Check, and Address.
Steps to Take To Keep Your RV’s Air Conditioning Running Cold
Clean and/or Replace:
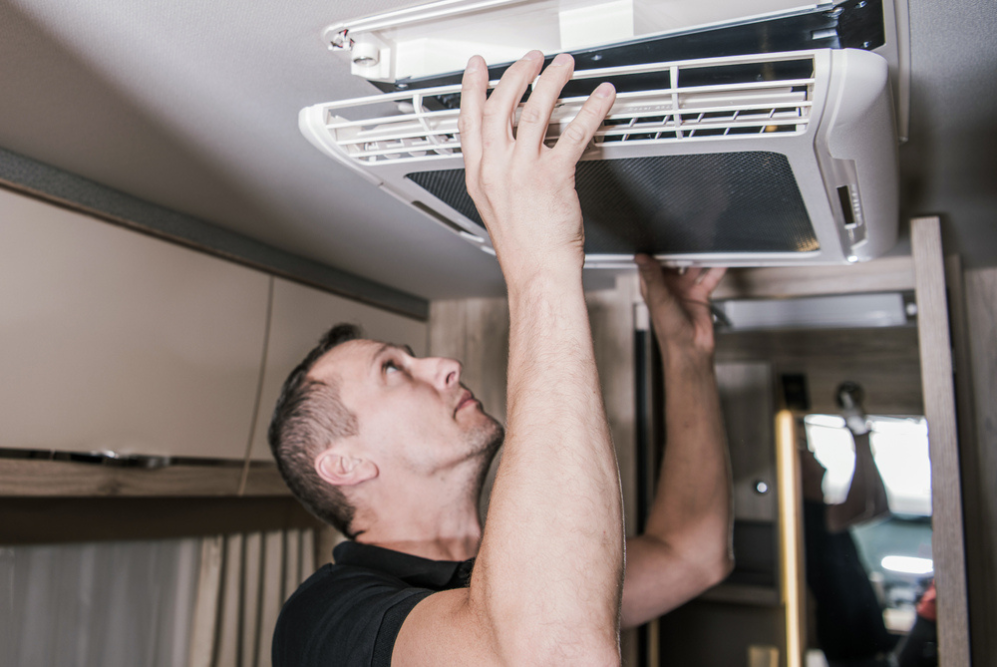
Make sure to clean the filters and coils regularly to ensure efficient operation. Cleaning the filters of your rig’s air conditioner is recommended, especially during extended drives. It’s advised to replace air filters on a yearly basis, or more often if you traveled more than 12,000 miles. Additionally, if your RV is subject to dusty roads or conditions, replacing the air filter often is a good idea.
Cleaning the evaporator and condenser coils is also suggested if you drive down dusty roads often. Removing any dirt or debris that is caking on the coils can ensure the efficiency of your air conditioner. A foaming cleanser is all that is required to quickly wipe down the coils and then rinse them off.
After you clean or replace the air filters, the next thing to do is to check refrigerant levels. Driving with low refrigerant levels can change how cool the air is that the air conditioning unit is trying to provide. If you are leaning toward thinking there is an issue with these levels, it’s better to not try and handle the problem yourself. It would be best to have a professional check the levels and refill if necessary.
Check for Leaks
Inspect the unit for any signs of leaks or damage. This can be done in a variety of methods, from eyeballing, listening, or by electronic gadget assistance. First, start with a visual inspection of the air conditioning, looking for residue or fresh stains. Check seals, hoses and connections for visible wear, tear, or damages.
A leak in the air conditioning unit could cause a hissing sound. Hearing this would be a good indication that further investigation is needed. You could use an electronic leak detector for leaks that aren’t visible by the naked eye. These electronic devices are sensitive enough to pinpoint the leak’s exact location.
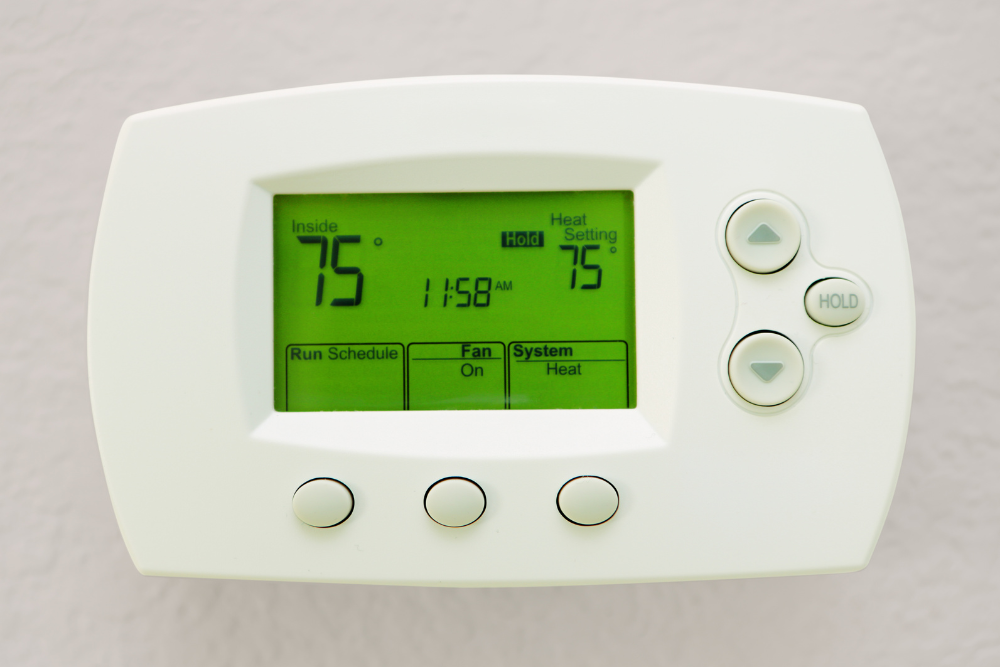
Take a look at the thermostat to double-check it is working correctly and to be sure it is set on the current temperature desired. Check to make sure there is proper airflow and that there aren’t obstructions blocking the air flow from the vents. Also, ensure the air conditioning unit isn’t restricted or covered in any way, as this too will slow down the air flow entering the rig.
Another place to check is the cooling performance. If the air conditioning unit isn’t cooling as strong as before, that could be pointing to a refrigerant leak. If you are unable to locate a leak, seeking help from a professional, licensed HVAC tech would be a good next step.
Check for any gaps or holed in the ductwork and seal any damages you find. Covering the holes with duct tape will help prevent air leakage and will improve the efficiency of the cooling power of your air conditioning unit.
Test the Thermostat
Ensure the thermostat is working correctly and that it is maintaining the desired temperature by following these guidelines. After turning off the power to your HVAC system, remove the thermostat cover so that the wires are exposed. Make notes of the wire colors and their corresponding locations, or take a picture for better reference. This step will make reconnecting the wires a breeze.
To check the wiring, use a small piece of wire and connect the power and heat terminals, which should turn on the heat source. If the furnace or heat source doesn’t start up, there could be an issue with it. Next, disconnect the wire from the heater and connect it to the air conditioner unit and see if it powers on.
Another step is to use a multimeter, as a way to measure voltage at the main control board. This is a way to ensure the thermostat is kicking over the right signals to the HVAC system.
If both the air conditioning blower and the furnace burner lights, it means the thermostat is incorrectly connected to the wires or is defective. Replacing the thermostat with a new should solve the problem.
If, after these steps are taken, and you are still having issues, its time to seek the professionals. Of course, if you want to continue investigating on your own, there are likely tutorials on YouTube that can give step-by-step guidance for you.
Inspect Electrical Connections
Check all electrical connections for any signs of wear or damage. In a similar fashion as testing the thermostat connection, you can turn off the air conditioning unit and remove the cover. Inspect the wires and parts for damage such as tears, corrosion, loose, damaged or disconnected wires and ensure that all electrical connections are properly connected and secure.
If you find a loose connection, just be sure to tighten it back up. For damaged wires or connectors, those will need to be replaced. A multimeter will come in handy for this checkpoint as well. Don’t forget to give the circuit breaker a good once over, either. A tripped breaker could show an electrical issue that needs to be taken care of.
Schedule Professional Maintenance
Consider having a professional inspection and service your air conditioner annually. For the most accurate and complete preventative maintenance, taking your RV to a reputable establishment that specializes in air conditioning maintenance is always the best option to take. Take it to your preferred neighborhood mechanic if that is who you trust.
Regular maintenance can be a preventative step in caring for and maintaining the life of your RV’s air conditioning unit. Maintenance chores such as the inspecting of the fan, of the motor and of the other components, as well as lubricating the fan motor if necessary, are all steps to help ensure the smooth workings of the air conditioning unit and cold air flow
If you are concerned about the ability of your air conditioner to keep you and your passengers cold during your trip, a temporary fix would be to supplement the air flow with some box fans. Adding additional fans to your RV’s interior will help distribute the air. For optimum results, place the fans near the air vents or the windows for enhanced circulation.
Don’t wait until you are miles away from home, winding up with a faulty air conditioning system. By following these preventive measures, you can avoid the discomfort of a malfunctioning air conditioner during, or in the middle of, your next road trip. You and your traveling party can enjoy a comfortable environment throughout your journey.

The Ultimate Pre-Season RV Maintenance Checklist

7 RV Preparation Ideas to Give You A Jump Start

RV Tires: 9 Critical Things to Know Before Purchasing