
RV Cover vs Tarp: How To Store Your RV Without Trapping Moisture
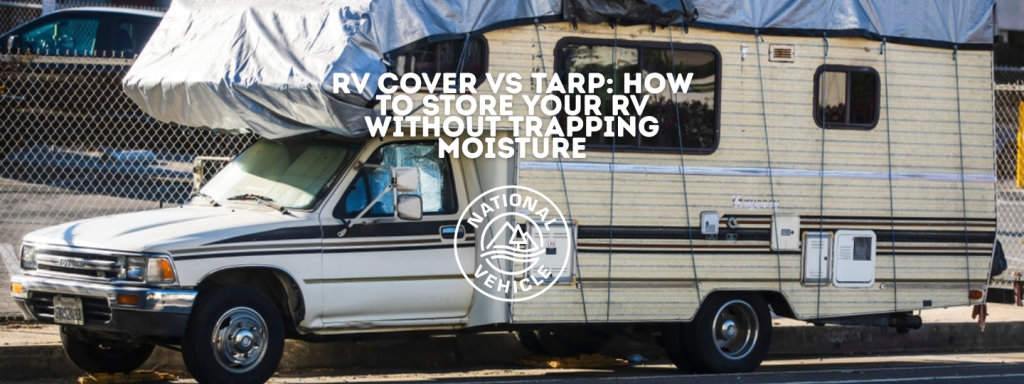

When it’s time to put your RV in storage, you start thinking of ways to protect it from the harsh winter weather, and you may think that covering it with non-permeable plastic tarps will protect it from the snow and ice, but using non-permeable materials might cause more damage than it prevents. Covering it with large blue tarps that are cinched down tight over and around the RV is not a recommended way to store your RV. There is always going to be some moisture inside of your RV and sealing the outside with these tarps prevents ventilation which will cause the trapped moisture and condensation to turn into mold and mildew.
Why A Commercial RV Cover Beats A Tarp
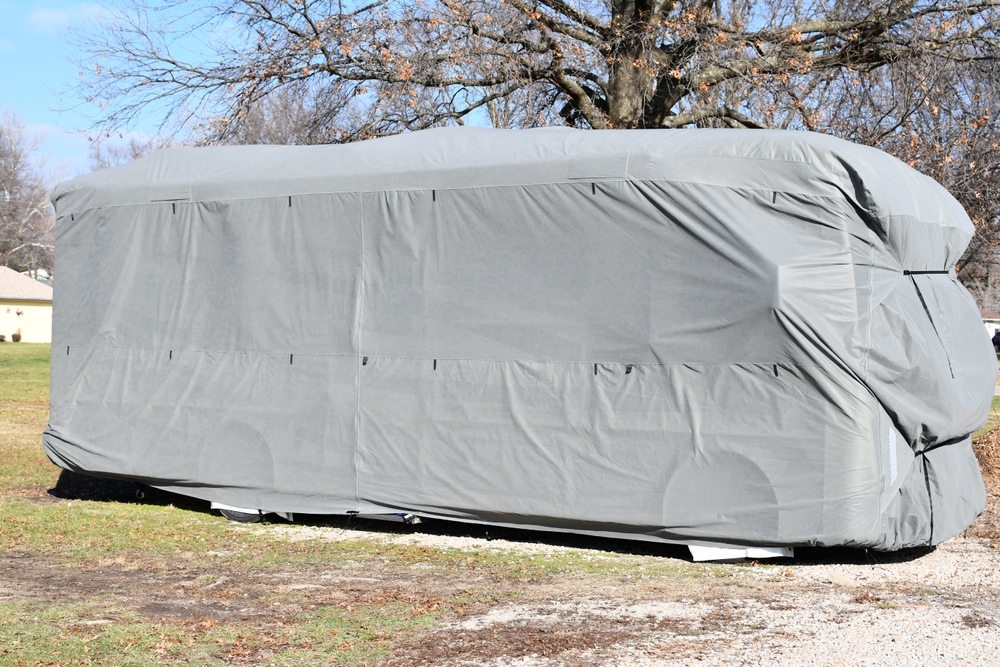
Commercially sold RV covers are made out of heavy duty, multi layered materials that enhances ventilation while still protection the RV from environmental hazards like snow, ice and UV rays. These commercial RV covers come with multiple convenient tiedowns and ventilation ports all critically positioned around the sides and top of the RV cover to enhance its fit and function.
Even though these commercial RV covers are manufactured to fit specific sizes and types of RVs, they are still heavy and awkward, and in some cases somewhat difficult to deploy. However, once they’re in place and the zippered door panel is correctly placed over the entry door of your RV these commercial covers offer the very best outdoor protection for your RV while still giving you easy access to the interior so you can place a dehumidifier in the RV and check on it to be sure it’s functioning correctly.
You might also find it useful to turn up the heat inside of your RV when it’s in storage to keep the condensation to a minimum and to create a more lived-in environment. The dehumidifier and heat will help to minimize rot, mildew, offensive odors, and water damage to the floors, cabinetry and electrical systems. It is counterproductive to try and completely seal your RV when it’s in storage. Water will always enter that space regardless of how well you think you have sealed it off.
Consider a jar of home canned pickles. Those jars become air tight through the canning process, which removes all of the air inside the jar and creates a tight seal between the jar lid and the glass jar. But even with all those precautions and the effort to keep the canned goods air tight, eventually air can seep into the pickle jar which may result in the growth of botulism or other dangerous organisms.
If you can’t keep moisture and air out of a pickle jar how effective will you be at keeping condensation and mold spores out of your RV. You’ll never be able to seal it enough to completely eliminate condensation, so, you’re better off promoting airflow throughout your RV. Consequently, ventilation is not the enemy it’s your friend. Mold Happens. Therefore, it’s imperative to create an environment that reduces mold growth, by trapping and removing condensation, by introducing a moderate level of heat and promoting circulation through ventilation ports, and using a heater or fan to enhance airflow, you can reduce water damage and condensation.
Seal The Leaks Before You Cover The RV
Moisture control starts with comprehensive sealants and a thorough inspection of your RV to affirm that there are no leaks in the roof, windows, doors, skylight, or slide outs. Additionally, you should look for leaks around all of the plumbing fixtures in your RV to make sure water is not leaking from the sinks, toilets, or shower.
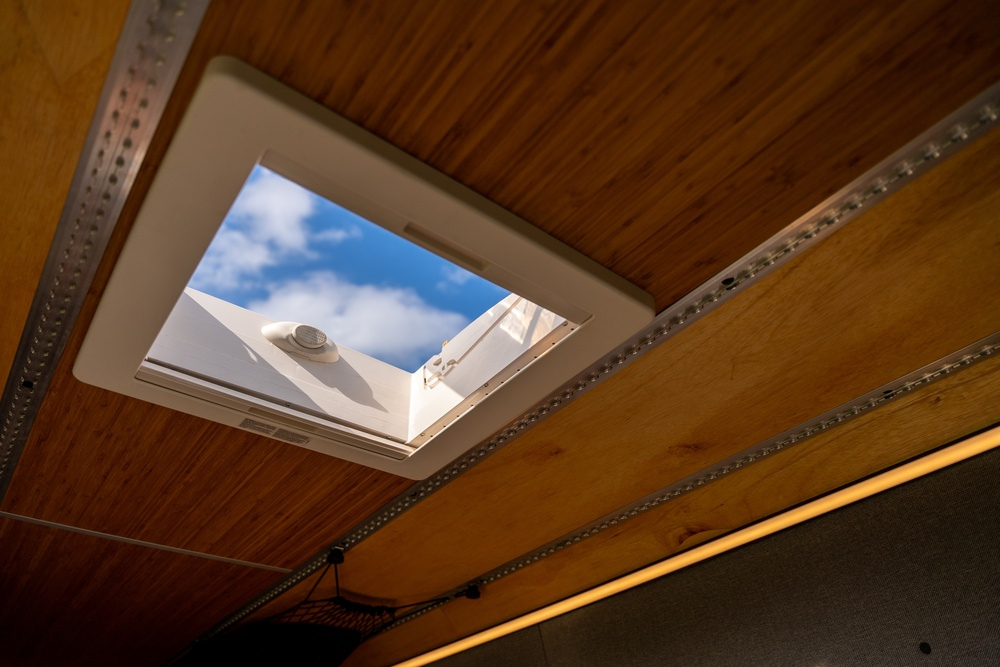
To prevent water damage, you should also clean and re-caulk around every point of penetration in the roof, such as the air conditioning units, running lights, fans, skylight, refrigerator and bathroom vents, solar panel mounting brackets, and the top of the access ladder. Any place where something has been attached to, or drilled into, or cut through the roof should be re-caulked.
Yes, a tarp over the roof when it’s in storage would prevent leaks, but a tightly attached tarp can also prevent ventilation and airflow so it’s still not a great idea. Plus, when you get your RV out of storage and want to go camping, you’re certainly going to want to have all of your roof penetrations properly caulked at that time, so you know nothing is going to result in a troublesome leak.
Frequently Asked Questions:
How do you stop condensation in an RV?
Proper ventilation is critical to reduce condensation. Also helpful is maintaining a little heat in the interior of the RV so it doesn’t get as cold and damp as the outside environment. The more you can replicate the “like lived-in” status the better. Although much of the air-born water inside an RV originates from its occupants.
Humans and pets shed water vapor constantly through their breath and skin, so if you use some dehumidifying resources (like damp rid absorbent crystals and window condensation tape) and keep a constant slightly warm temperature in an empty RV then condensation should not be a problem.
Additionally, electric dehumidifiers are an excellent way to combat condensation. Remember however, these tools must be maintained (empty the water reservoir, and check for overheating). Because they are connected to electricity, they could be a fire risk, therefore, plugging in a dehumidifier and leaving it unattended for days on end is not recommended, even if the water reservoir holds 50 or 80 pint of water, you should still check on this tool frequently.
What is the best dehumidifier for an RV?
There are dozens of different brands of dehumidifiers and the distinguishing characteristic of these tools is generally how many square feet of space it is rated to protect and how many pints of water can be collected in the water reservoir. Some dehumidifiers are rated for 2500 sq. ft. others can dehumidify 4500 sq. ft. of space, and up to 10 gallons of water (which seems more like the space in a residential basement than an RV).
Some dehumidifiers will handle 30, 50, or 80 pints of water, (there are 8 pints in a gallon, so an 80 pint dehumidifier can handle 10 gallons of water). Bigger is not always the best choice. Remember you need to get this tool up and down the steps into your RV which can be awkward with a large dehumidifier and when not in use, you’ll need to store it and if you’re a full-time RVers that means finding room for it in your RV when you’re traveling. A couple of brands that received good customer ratings are Wanai, Airfire, Darkiron, and UHome.
How do you find a water leak in an RV?
The best way to find the source of a water leak is a visual inspection. Try to track up from any observable interior water damage. If you notice a water stain on the roof liner inside your RV certainly, you can surmise that there is a hole, tear or broken seam on the roof near the point of observable damage. You might just need to re-caulk a joint, seam, or roof intrusion like a pipe or vent on the roof to eliminate the leak and you my never even see the spot where the leak originates.
Another technique for tracking down a leak is to introduce a large amount of water into the area where you think the leak may originate. Use a hose and spray a large amount of water onto the window, or the corner of the slide-out, or the vent cover, or air conditioning cover on the roof (if you think any of these places might be the source of the leak).
By using the hose rather than just waiting until it rains you will be able to identify the source of the leak more quickly. Sometimes rain seeps into a small defective area on the outside of the RV and over time it migrates between the inner and outer walls until it finally manifests itself on the inside of your RV.
This process can take some time to be detectable so it’s hard to clearly identify the source of the leak just from the rainfall. With concentrated water from a hose focused on the outside surface of the RV you can speed up this migration process and possible see where the water is getting inside the RV. This process might require one person to observe the inside where the leak was first detected while another person mans the hose.
Another method of questionable value might be to seal off the entire interior of the RV then pressurize the air inside (with a compressor) and use a soapy rinse on the outside surfaces to see if bubbles form from any escaping pressurized air. This procedure was utilized by Camping World to try and locate a leak on the roof of our first RV.
At the time, I questioned whether they could actually make the entire RV airtight enough to force the pressurized air out through a small defect in the fiberglass roof.
It seemed to me, at the time, that air would escape around the slide outs and through other more obvious exit points like around the doors, etc. so I question whether or not they could build up enough pressure to force air out through a tiny defect in the roof to the point where bubbles forming in the soapy solution would be detectable.
As it turned out this procedure did not work, and the leak they were trying to locate was still there after they tested it for air leaks and re-caulked the entire roof. The idea was intriguing but the execution of this procedure was ineffective.
Finding a leak is challenging because you assume that the point of intrusion is very near and above the visible water damage. But the reality is water can track horizontally across great distances so the actual point of intrusion could be several feet to the side of where it is first detected. Clearly, it started above the damaged area, but it could also be above and to the side. But determining which side and how far above is the challenge.

Rolling into Retirement: The RV Lifestyle After Work

Our Guide for De-Winterizing your RV

Top 6 RV Design Trends: Modernize Your RV Interior