
Ready to Winterize your RV? Get Started Now!


It’s That Time of Year
Unless you’re fortunate enough to live in the sunbelt, (where winterization may not be necessary) it’s the time of year when you need to winterize your RV. But this is also the perfect time to reflect on the past few years and take stock in your overall RVing behaviors. So, before going through all the rigmarole to winterize and store your RV, maybe it’s time to consider alternatives. Perhaps now is the right time to sell it instead? Ask yourself these questions.
- Over the past few years, did I intend to go camping but just never got around to it?
- Was I too busy, or have I just lost interest and don’t enjoy it as much as I used to?
- Am I reticent about camping because my RV doesn’t fit my needs?
- Would my family and I be more comfortable in a different RV?
- Should I sell my RV or winterize it?
Depending on your answers, now might be the perfect time to sell your RV. Perhaps you want to replace it with a better one next spring, or you may be ready to just put RVing behind you and start a new chapter in your life. It’s perfectly ok to move on if you’re done with RVing but don’t just let your valuable asset sit around for another year and depreciate.
Is it Time to Sell or Winterize Your RV?
Great news! If you’re done RVing and have decided to sell it you can call our team here at National Vehicle 1-800-320-9557 or connect through this link and we’ll provide you with an accurate free valuation for your RV and we’ll help you take the next steps in getting it sold for the best price with the least amount of aggravation.
Sunbelt Dwellers Disregard
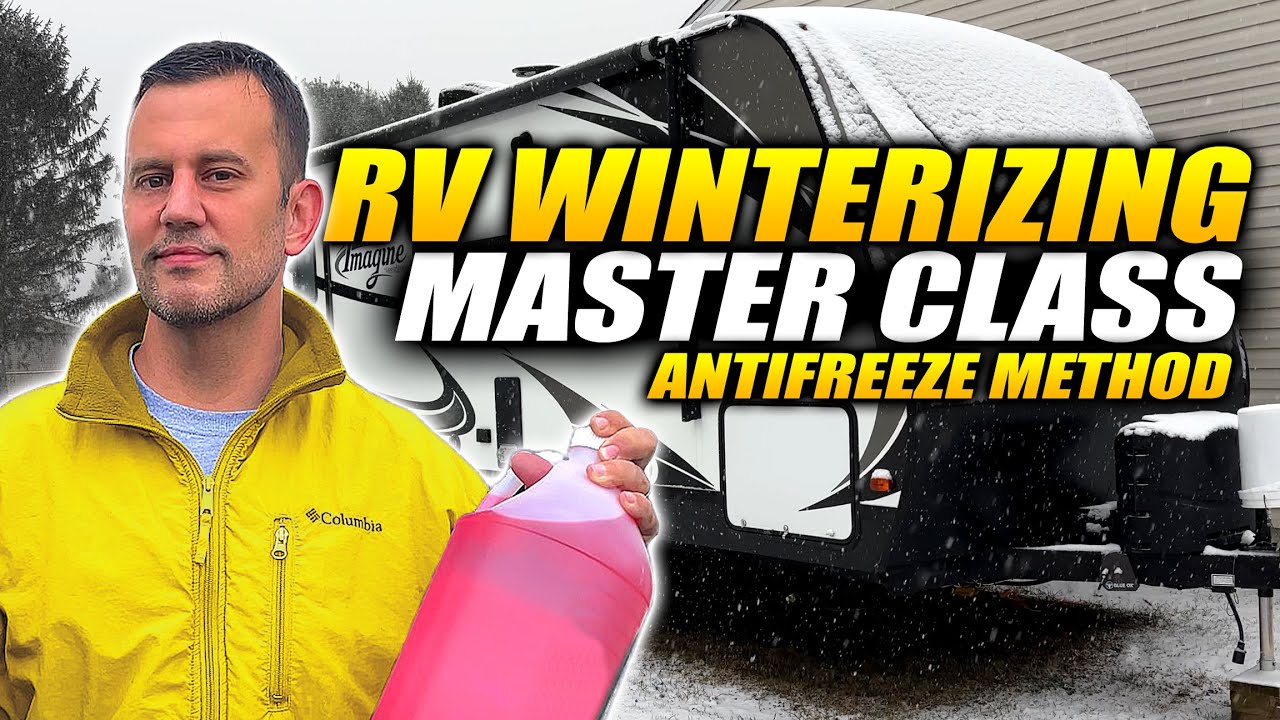
Otherwise, if you’re not ready to sell or donate your RV, and you’re not sure how to winterize an rv, we’re here to help! Just follow these 15 winterizing rv steps and you will be protected through the winter and ready for a new season of fun and adventure next spring.
Region and Type of Storage Determine Best Practices
Some aspects of RV winterizing will depend on where and how the RV will be stored. If you have your trailer or fifth wheel set up in a campground as a seasonal camping destination you may need to take a few more steps than if it’s going to be stored on your property or in a storage lot.
Storing an RV for the winter in a heated RV garage is different from storing it in an uncovered commercial storage lot. And storing it in North Dakota or Vermont is different from storing it in western Washington or South Carolina. The severity and duration of regional weather and the amount of exposure to the elements will determine the best practices for RV winterizing.
The list below is the worst case scenario. If your RV will not be exposed to long periods of freezing temperatures, accumulating ice and snow, or severe winds, you may only need to follow a few of these procedures. If it’s going to be stored indoors then you just need to think about freezing temperatures, vermin, and potential vandalism or theft. Follow the list below to winterize your RV but modify it to fit your unique situation in terms of your regional weather and storage location.
Steps on How to Winterize an RV
1. Clean your RV inside and out
The idea is to return your RV to as close to showroom quality as possible. As Adrian Monk would say, “You’ll thank me later.” Cleaning it inside and out to remove mold, grime, insect nests, and other accumulated debris and rubbish will help protect the outside finishes and reduce offensive orders on the inside. And when you are ready to take it back out of winter storage next spring it will be much more inviting.
Additionally, while you’re washing the roof and exterior walls it’s a great time to check all the caulked joints and seams to make sure the caulk isn’t cracked or peeling away from the surfaces. You don’t want broken seals to leak all winter, nor will you want to try and fix those defects in the dead of winter.
2. Pick up and secure all outdoor furnishings and camping gear (seasonal sites)
If your RV is set up in a campground as a seasonal campsite it is very important to visit it a few times at the end of the camping season to work your way through this list because once the park is closed you may have very limited (or no) access to your RV. With seasonal sites it’s important to put away all the exterior furnishing and accessories to preserve those belongings but also to keep them from damaging your RV in a storm.
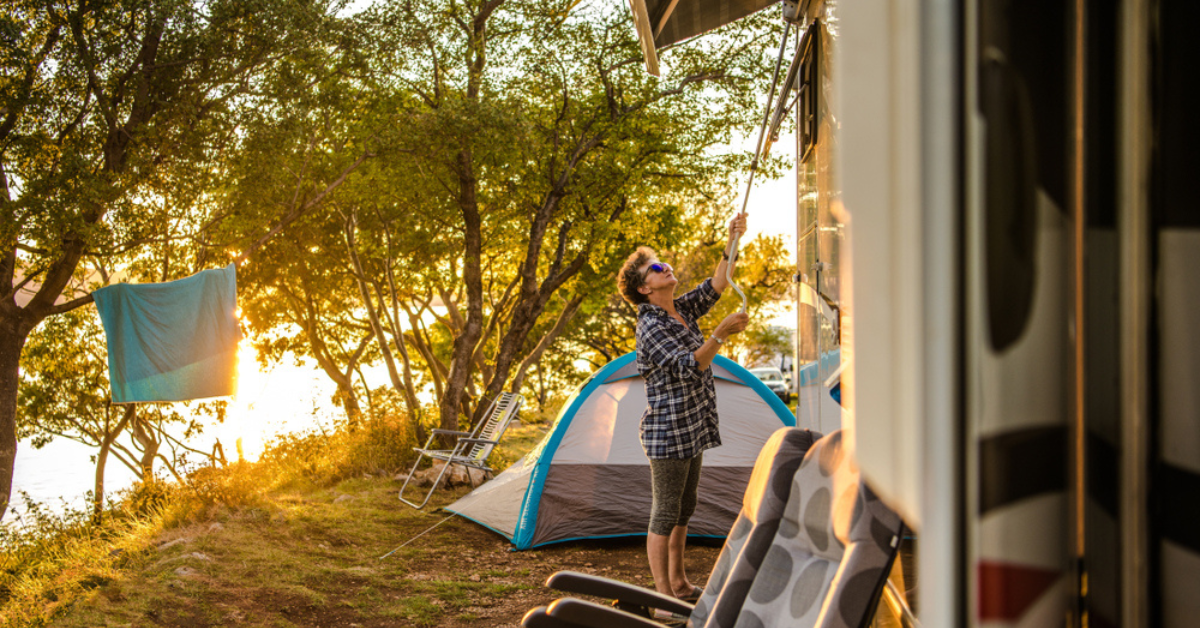
3. Retract the awnings and apply lubricant to slide outs and jacks
Retracting your awnings, slides, and jacks may seem obvious unless you leave your RV in a campground as a seasonal vacation destination, where it is probably left with the jacks and slides perpetually extended. But even if it’s not a seasonal camping destination and even if you plan to store your RV in an indoor storage facility it’s still necessary to lubricate these vital components. Therefore, the third winterization step is to retract all the awnings (clean them first), then lubricate the rubber seals around the slide outs with 3 in 1 rubber seal before retracting them and spray the jacks with RV silicone spray to lubricate and protect them.
4. Remove ALL food including dried beans, condiments, and canned food
Clean out the pantry, refrigerator, coolers, and basements of all food items including canned goods. Cans can freeze and explode, or the use-by dates will pass and the food will need to be thrown away as waste. Food is an attractant to rodents and insects and in an unoccupied RV the attraction is even greater. Cleaning out food items includes condiments in the refrigerator and dry goods like pasta and beans. Even paper products like TP and paper towels can attract nest building mice so while you’re cleaning out the food you might as well take the paper products out of your RV at the same time.
Once everything is out of the refrigerator, wipe it down with a cleaner, turn it off and leave the doors of the fridge and freezer propped open so they can’t accidentally close while the RV is in storage.
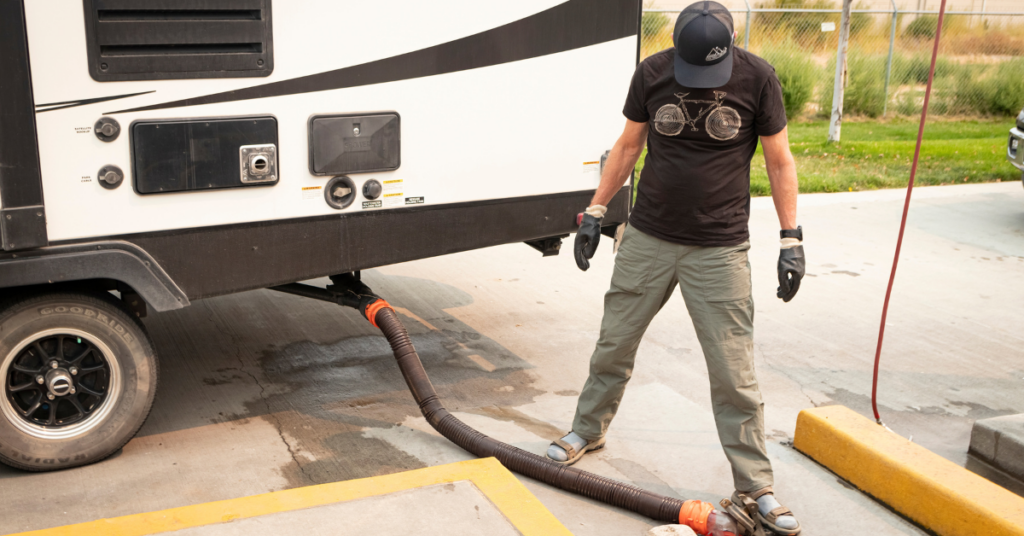
5. Clean and rinse gray and black tanks and add antifreeze
Taking the necessary time to properly winterize RV water systems is crucial for safeguarding against potential cold-weather damage. Empty the black and gray water tanks and rinse them thoroughly to remove any residue. While you’re cleaning the freshwater system (see #6) go ahead and pour antifreeze into the black and gray tanks, at the same time.
6. Drain freshwater tank, water heater, plumbing lines, and add antifreeze
One of the worst things that can happen to your RV during the winter months is to have your water system freeze and crack the hoses or holding tank. To help prevent pipes from freezing and to insulate the underside of an RV you can purchase fitted inflatable bladders called Airskirts. They’re custom built to fit your RV and can be installed all around the bottom of an RV to reduce under carriage drafts.
Additionally, many newer RVs can now be ordered with all-weather accessory kits that include extra insulation under the RV and some even have heated basements and floors. But even with these extra precautions it may not be enough to prevent a cold, stored, RV’s water system from freezing in the dead of winter.
Therefore, it’s still safer to drain the water system and add antifreeze to protect your RV’s water lines and freshwater holding tank. There are specific steps to follow when winterizing rv water systems and I will not repeat those steps here. If you’re not familiar with how to locate your low point drains and how to flush your tanks, water heater tank, and RV’s plumbing system, you can follow this step-by-step guide published by Camping World.
7. Choose a storage location free from overhanging obstacles
(not for seasonal campsites or RVs stored indoors)
If you’re going to store your RV outdoors try to find a location that is not directly under any large overhanging tree limbs or other overhead obstacles. The limbs can break from the weight of snow or ice, or in high winds, and if they fall on your RV they will most likely damage the roof. Ideally storing your RV indoors is a safer option but not always available to everyone. If you are planning to store it outdoors, using a pre-fitted RV cover could protect the exterior surfaces from UV rays and weather damage, but these covers won’t help with falling tree limbs, so try to park your RV away from potential falling debris.
8. Disconnect the batteries
Most RVs come with a battery disconnect switch. These disconnect switches will keep the RV systems from draining the batteries. If the RV is a motorhome there are battery disconnect switches for both the chassis and the house batteries. But just turning off the battery power to the house and chassis doesn’t relieve you of the duty to check on the batteries throughout the winter months.
If you have acid-lead batteries you may need to add water to the batteries. If they are lithium or sealed batteries you can’t add water, but you should still check on them to make sure they’re ok. You don’t want the batteries to corrode or run low on water, so it’s advisable (if you have access to your RV) to check the batteries at least once a month.
9. Open the refrigerator, cabinets, and drawers to allow air circulation
As mentioned earlier you need to turn the refrigerator off and prop the fridge doors open. You should also open all the cabinets and drawers throughout the RV. This will promote airflow which will reduce the likelihood that mold will accumulate in any of the closed spaces. Also, if invading rodents do take up residence in your RV, detecting their presence is easier if they have open access to the living spaces in the RV. If they are confined behind closed cabinet doors, detecting and eliminating them is much harder.
10. Add air to the tires
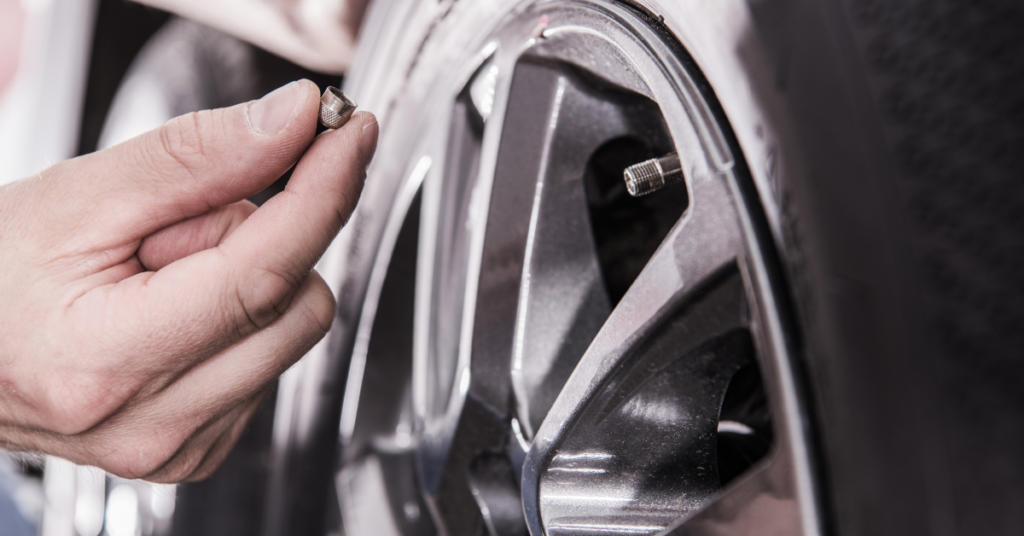
Before you finish your winterization procedures it’s a good idea to add some extra air to the tires. Over time your RV’s tire pressure will slowly diminish, and you want your tires to be fully inflated while it’s stationary. Under-inflated tires are more likely to develop flat spots while your RV sits idle for months. And next spring, when you get ready to go on your first camping trip in the new year, you’re going to have enough to do just restocking the RV, reconnecting the batteries, and draining out all the antifreeze, that you won’t want to be bothered with under-inflated tires.
11. Turn off or remove propane tanks
Before storing your RV for the winter, you should turn off the propane tank if it’s a motorhome with a permanently mounted propane tank in a basement. If your RV is a trailer or fifth wheel then removing the propane tank completely would be an even better idea than disconnecting it or turning it off. A propane tank is flammable and explosive and if a fire starts in or near your RV the propane tank is a danger to anyone attempting to extinguish the fire. Additionally, if a propane tank does catch on fire or explodes it will massively amplify the damage.
12. Manage interior humidity
This winterization procedure may be your most difficult challenge. Humidity will accumulate whether your RV is stored outdoors (even with a fitted RV cover) or in a cold indoor or covered environment. If your RV is a seasonal campsite and you have limited (or no) access to the RV this challenge will be even more daunting. Humidity can be very destructive, and it is hard to control in a cold closed environment like a stored RV. Humidity can cause mold, mildew, and dry rot in the sub-surfaces behind the walls, floor, and ceiling. It can also cause surface mold to accumulate.
One way to eliminate damage from humidity is to add heat to the environment, like running a heater inside your RV. Another way to control it is with a dehumidifier which pulls the excess water out of the air. But adding heat or running a dehumidifier can be a fire danger and for an unattended RV neither is a great idea.
Additionally, it may not be possible to run either a heater or dehumidifier if your RV is not connected to shore power and the batteries are disconnected. And if your RV is in a commercial storage facility neither of these options is likely to be available to you. To compound the issue, the water reservoir in a dehumidifier needs to be emptied frequently so a dehumidifier probably won’t work in most storage situations. I’ve personally used a dehumidifier in my RV that was (not winterized) but parked at my home all winter. I’d check on the dehumidifier several times a day to make sure it wasn’t overheating and to empty the reservoir.
Our Oregon winters are notoriously wet, and I could pull nearly a gallon of water out of our 34’ motorhome on very wet days. It was a constant battle to control the humidity when the RV was not in use, so we often also ran the furnace in the RV to keep the humidity under control. But when your RV is winterized properly, with the batteries disconnected, and no access to shore power you don’t have these options.
Your best humidity control option in that situation may be DriZAir chemical packs. These pull moisture out of the air through a chemical reaction and stores it in an attached reservoir, but the DriZAir reservoir needs to be emptied and the chemicals replaced frequently. Therefore, when you’re checking on your RV throughout the winter be sure to monitor the humidity and if you use DriZAir replace the chemical packs often.
13. Use insect and rodent deterrents
To prevent an infestation of mice, rats, or insects in your RV you may want to use some rodent and insect repellants. There are many types, (here is a list of the 10 best repellents) some involve harsh chemicals, but others use a more natural approach like mint oil or even sonic vibrations. Some repellents work best on insects while others target both types of invaders.
The bottom line is you don’t want to share your recreation space with these pests. When it’s finally time to get your RV out of winter storage and get back to camping, you don’t want to discover that you have unwanted intruders, so deterring them before you have an infestation is the best control method.
14. Suspend RV insurance coverage
This is an optional winterization step. If your RV insurance policy allows for seasonality you may want to suspend your coverage for the winter. It will save you the monthly premiums, but it also exposes you to some extra risk. Just because your RV is in storage doesn’t mean it can’t be or won’t be damaged. Most likely you won’t have any need for liability insurance (the part of the policy that protects others who may be harmed by your RV) but comprehensive insurance (the part of the policy that protects your valuable asset) may still be needed throughout the winter months.
Remember damage could occur from falling debris, freezing pipes, vandalism, or theft while your RV is in storage. If you suspend your comprehensive coverage (and it is damaged while the policy is suspended) it’s like not even having insurance. The cost of the repairs will be on you. If your RV is in a locked commercial storage facility, or in your own personal RV garage, then comprehensive and liability insurance may be an unnecessary expense and it would be prudent to suspend the coverage.
But if it is exposed to any of these hazards you may not want to suspend it. Therefore, your personal situation will determine what is the best choice regarding your insurance coverage during the winter months.
Bonus: Install a security system if vandalism or theft are possible
Finally, the last and best winterization procedure may be to install a security system on your RV. These systems are becoming very popular and inexpensive, and they can be used year round, while your RV is in storage and when you’re camping in it. Some systems run on battery power and WIFI, and these security systems come with all different levels of protection including multiple video cameras, motion sensors, and intrusion detection. If you are storing your RV in an unsecured off-site location the installation of an RV security system will provide peace of mind while your RV is winterized and not in use.

Winterization is Not a One and Done Process.
Just because it’s been winterized doesn’t mean you can forget about your RV for the winter. In a cold unoccupied RV, moisture accumulates, wind can damage the outside, vandals and thieves may attack, rodents could infest it, or the batteries could corrode. These are all serious problems, and you should check on your stored RV at least once a month to make sure it hasn’t been damaged, vandalized, or invaded.
Winterizing a camper or RV is not a one and done process so be vigilant throughout the winter months. Don’t let deep snow accumulate on the roof, manage moisture on the inside, protect it from rodents, and be aware that it could be a target for thieves and vandals. The closer you keep your winterized RV to your everyday routines the less likely something untoward will sneak up on you and cause a huge disappointment next spring when you’re looking forward to a new year of RVing.


The Off-Season: Things to do and Prep for Your RV Adventures

In-Season RV Maintenance Reminder

7 Small RV Upgrades That Make it Ready for Full Time Living